


How to Produce Product Photos and Videos
The online experience is limited, but it doesn’t have to be deprived. Capturing vivid images and producing short demo videos will bring your product, and the story behind it, to life.
Thank You!
 Product Page Guide
The online experience is limited, but it doesn’t have to be deprived. Capturing vivid images and producing short demo videos will bring your product, and the story behind it, to life.

By Association Only is an award-winning creative agency and Shopify Plus partner specializing in remarkable online sales experiences.


There’s a lot that goes into building product pages that convert, but what’s ultimately going to make the difference between a sale and a bounce is your product visuals.
We all know that high-quality photos and video content are a must, but what does that really mean, and how do you do it without a huge budget? In this chapter, we break down the fundamentals of what you need to get started and best practices for producing visual content.
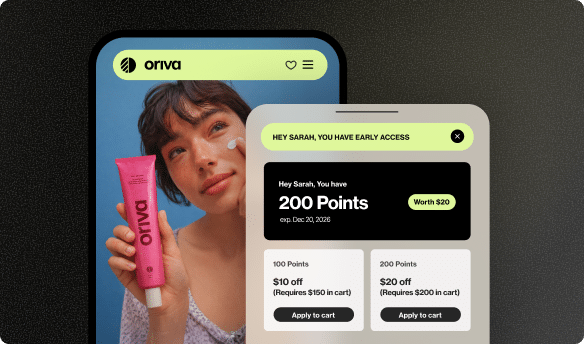
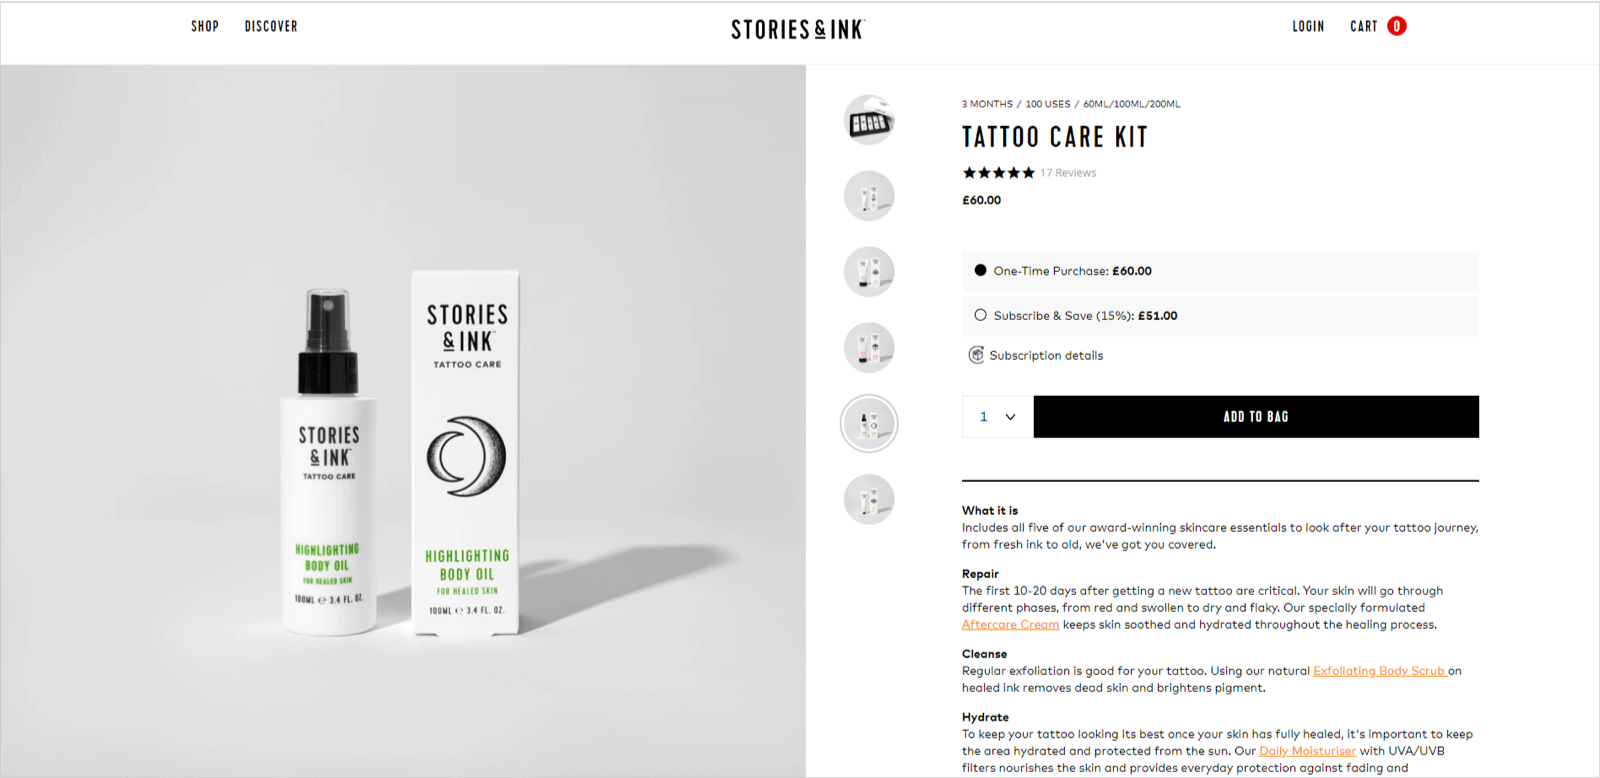
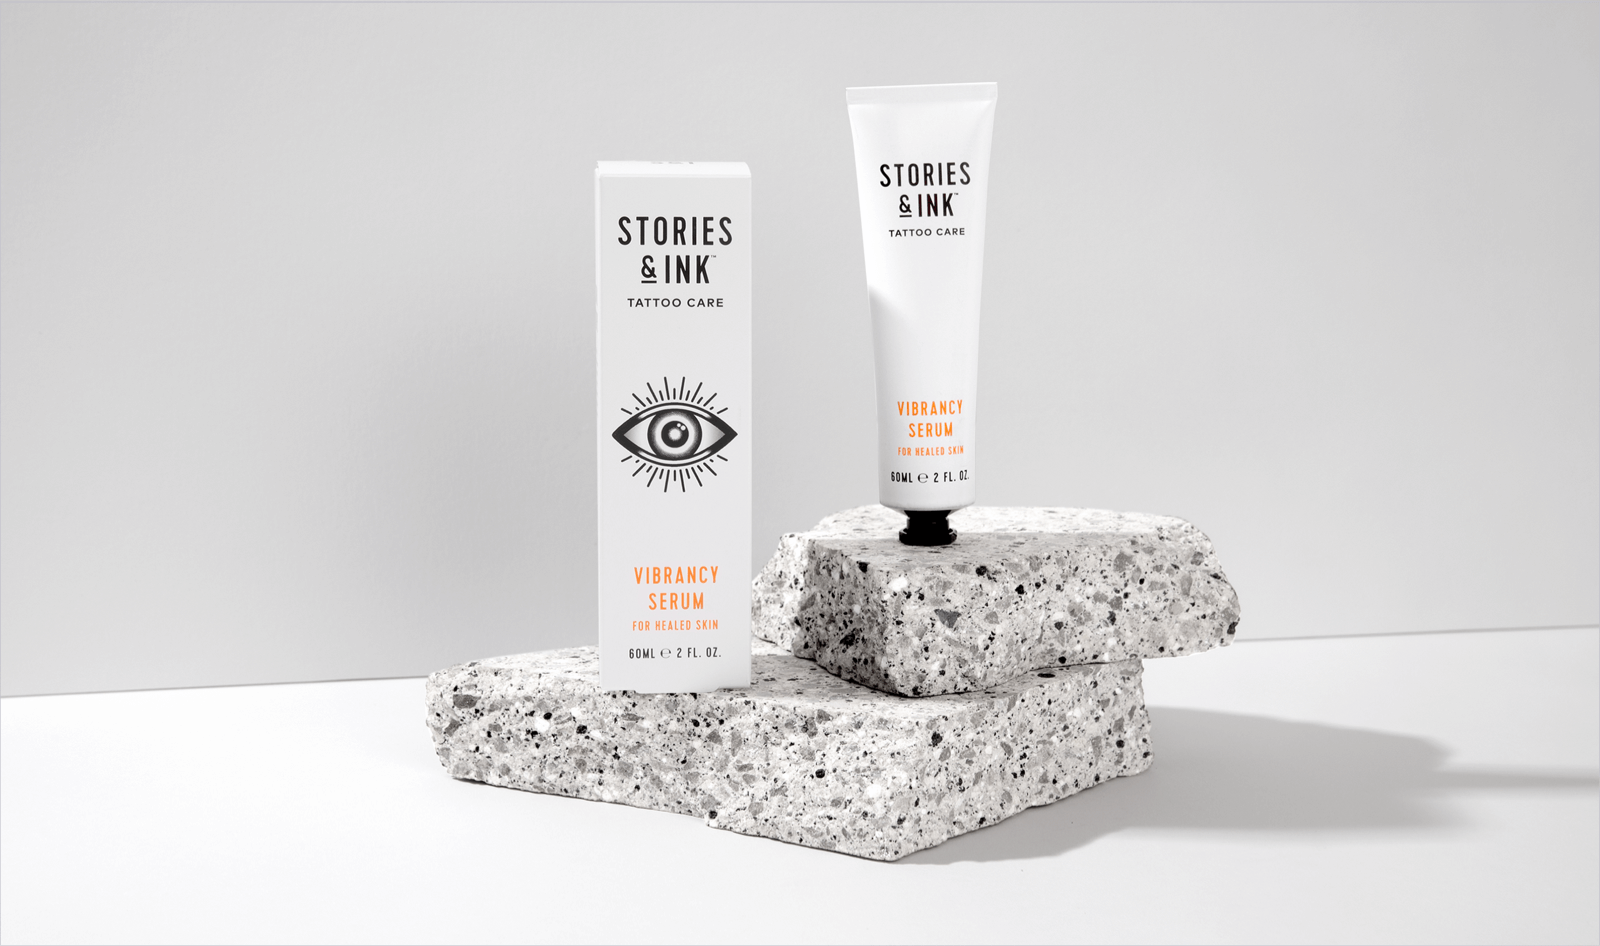
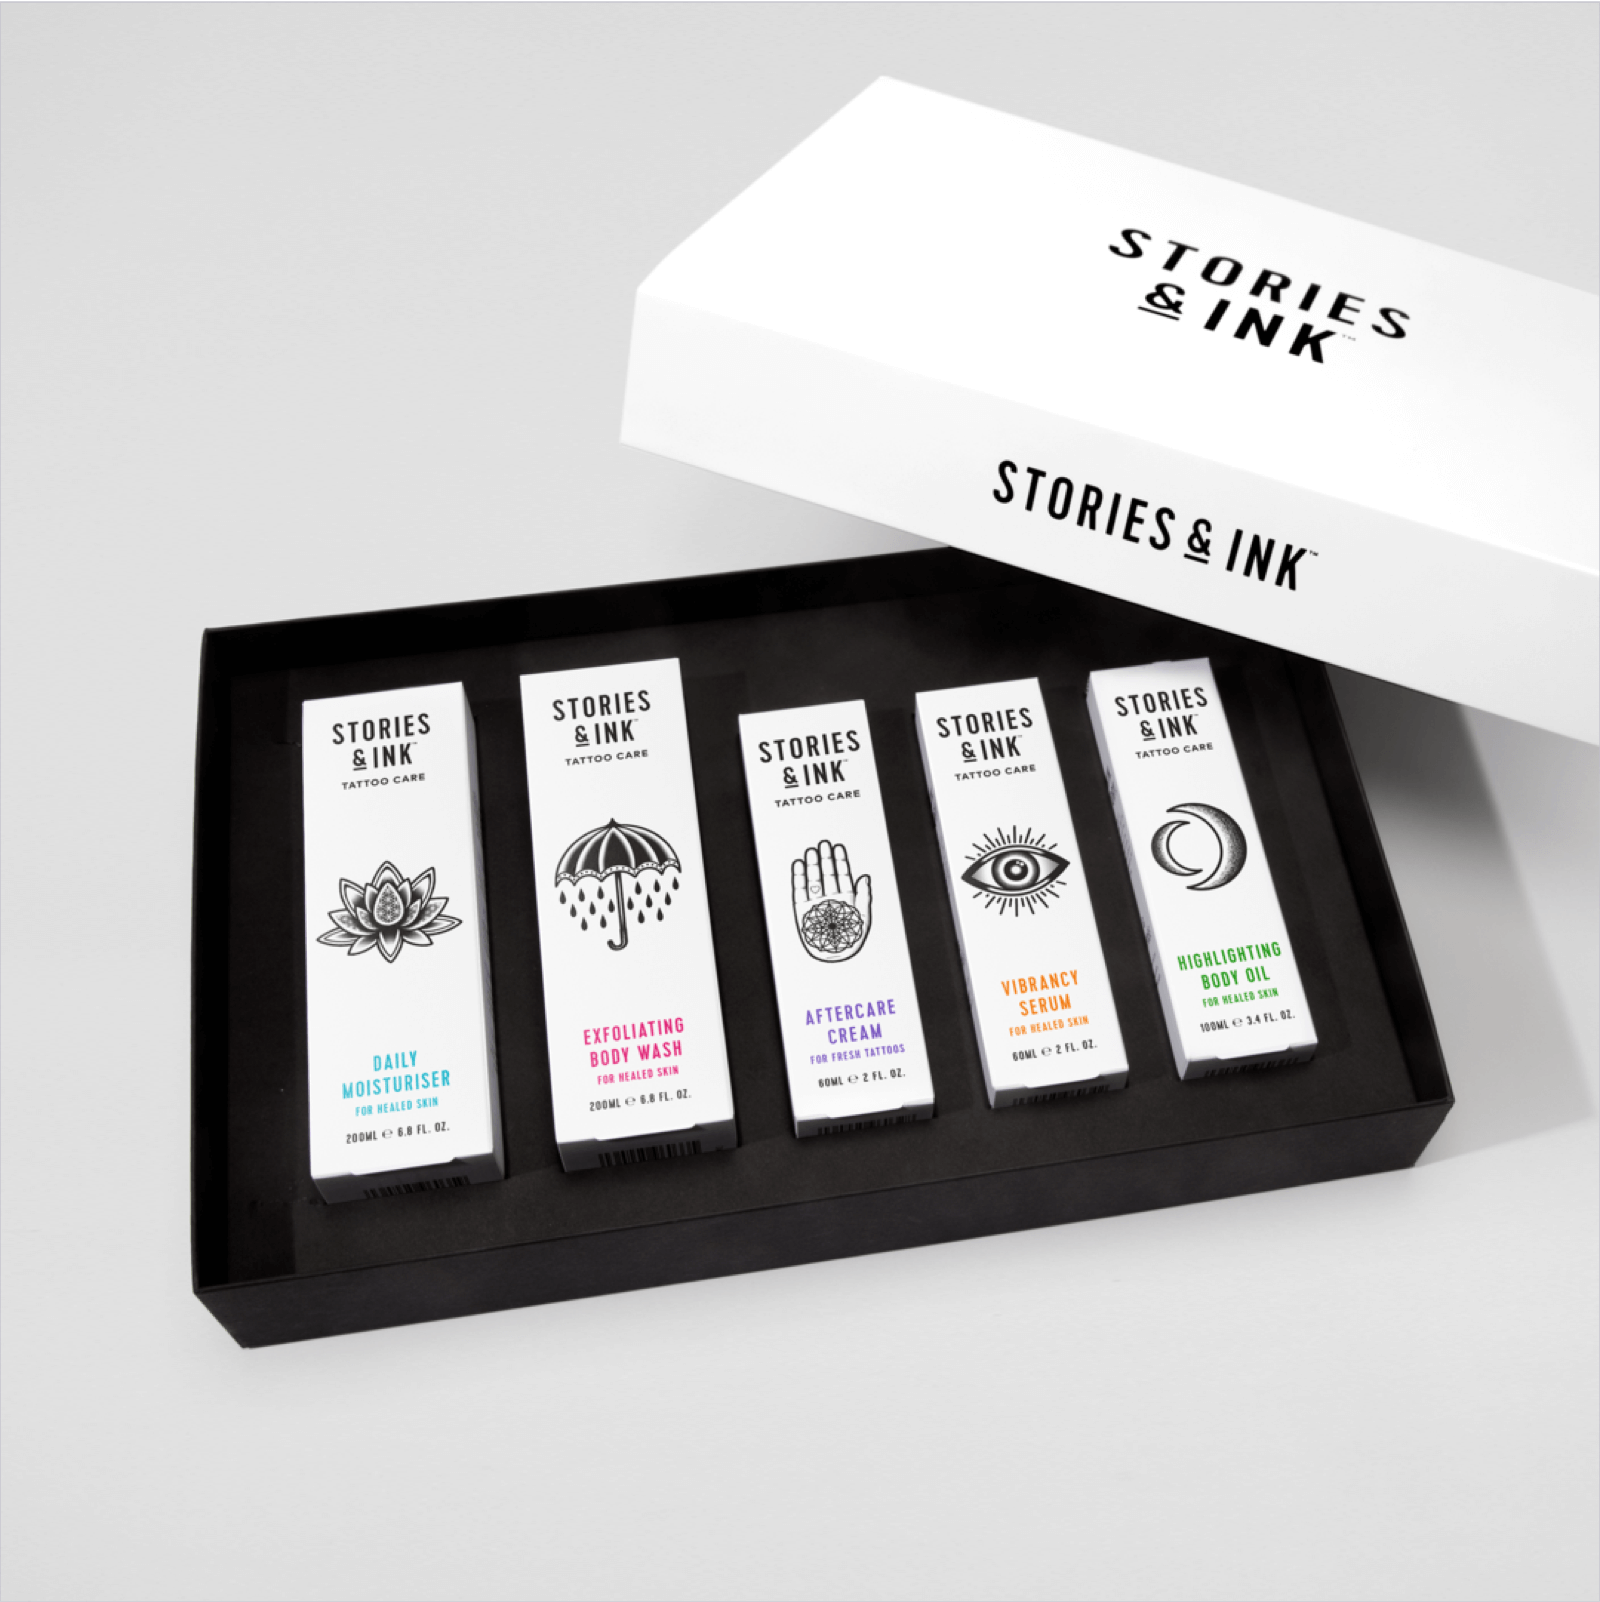
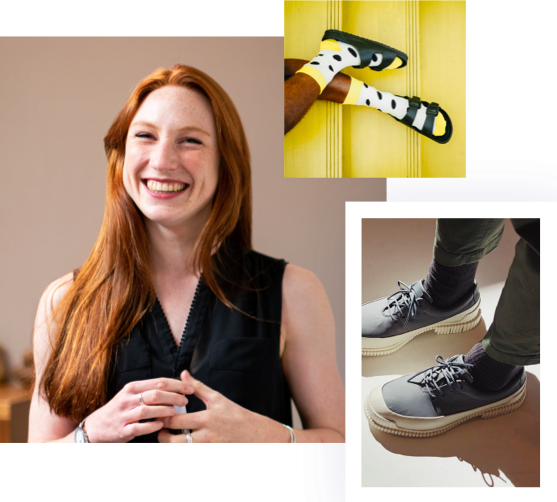
Before you start gathering your materials and shooting, it’s important to think about your design aesthetic. If you already have a consistent look and feel for your products across categories that you’re happy with, then by all means keep it up. For many brands, especially smaller ones, simple product-only photos on a white background are as complex as it gets, and that’s fine! It’s what consumers are used to, and what they expect.
Once you nail down your design aesthetic, it’s time to get started.
You don’t need that much equipment to produce high-quality photos. And you probably have at least one item in your pocket or purse.
It’s a myth that you need to spend hundreds of dollars on a DSLR camera if you want to capture high-quality photos. Many smartphones now take photos that are just as good, if not better. If you have a newer Samsung or iPhone, you already have a professional camera in your pocket.
If you want to capture quality photos, a tripod is a must. Not only will it reduce shakiness and blur, but it will help you develop consistency across your photos in framing and angles.
There are a few important decisions that need to be made before you start shooting.
When it comes to lighting, there’s no one-size-fits-all solution. Your lighting can either be natural, which comes from the sun, or studio, which comes from artificial lights. Here are some things to consider:
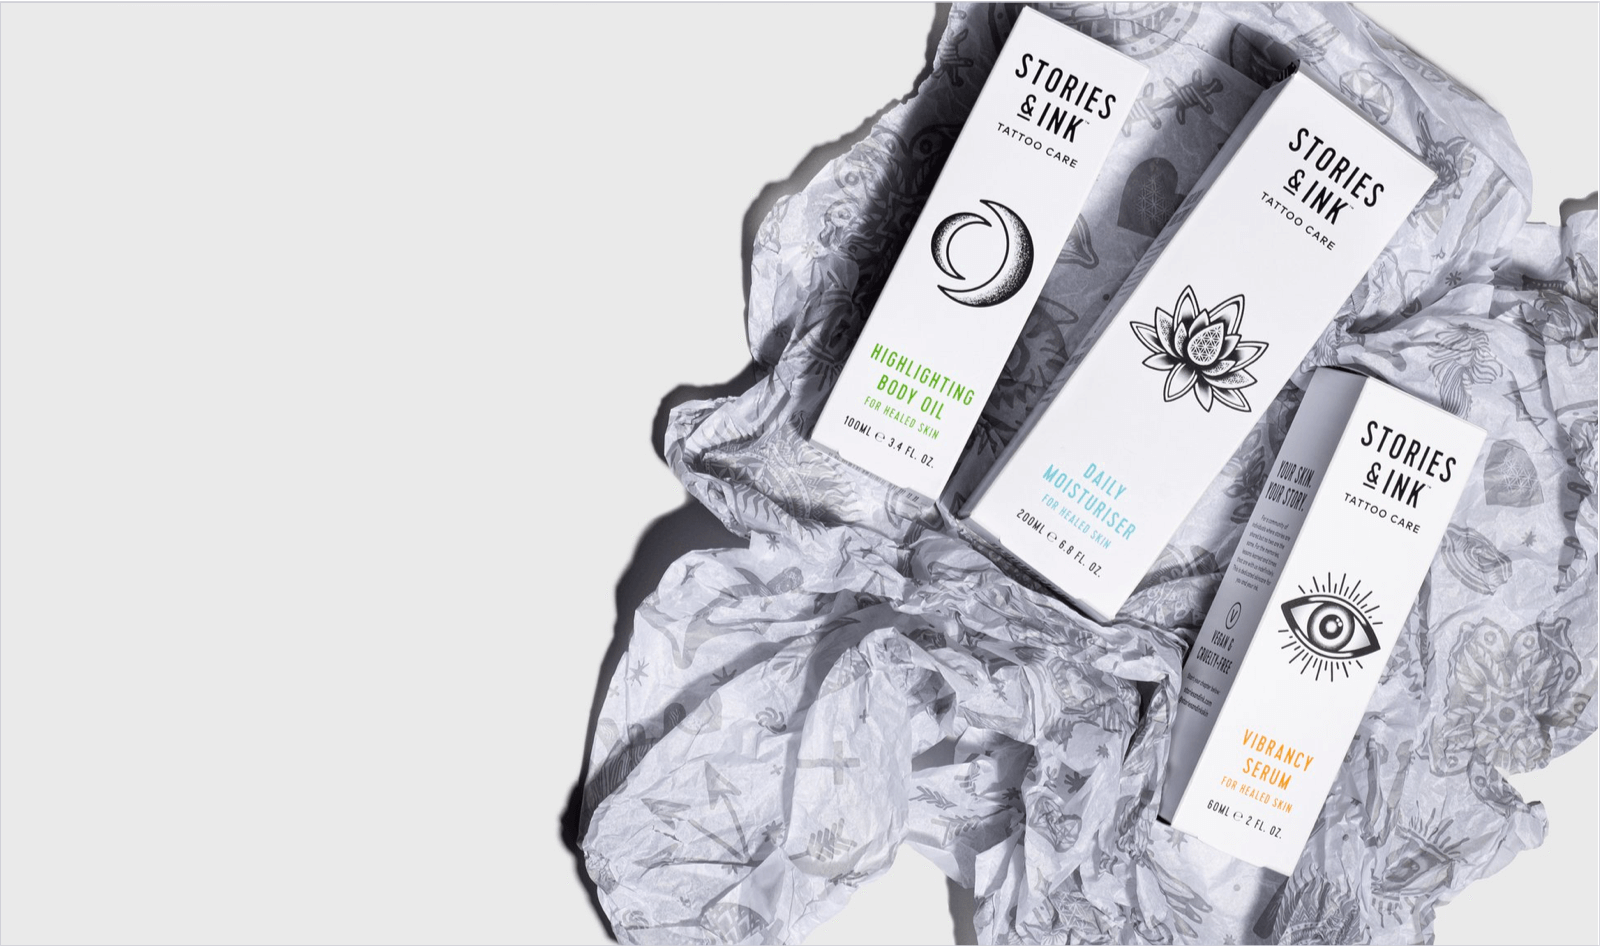
When it comes to props, less is more. Remember, you want the focus to be on the product. You don’t actually need props if you’re doing single product photos. That said, a pop of color can make your photos really stand out, and props can help a customer visualize using a product.
A simple white background is easy to create with a “sweep,” which is a white backdrop that seamlessly transitions from the vertical to the horizontal surface. This can be easily achieved with a table or chair and a large piece of white paper. This way of shooting is better for beginners and those with limited budgets, and it also makes the editing process much easier.
Once you’ve set up your shoot, it’s time to start clicking.
Remember the rules of thirds. Divide your photo frame into nine equal parts. Those intersection points are where a viewer’s eyes will be naturally drawn, so frame your product to hit them.
No matter how many photos you think you need, shoot more. Shoot from every angle that you think a consumer might want to see.
A lot of beginner photographers think that they can take bad photos and make them look great at the editing stage. That’s a myth. Editing should be just to put the final touches on photos. Also, avoid filters, which can distort your product details and lead to customer satisfaction. For example, if the color of the product is different than in the photo because you used a filter, a customer may leave a negative review.
There is editing software available at all price points, from free (Apple Photos, Microsoft Photos, GIMP) to high-end (Adobe Photoshop). If you’re shooting high-quality photos, you likely won’t need all the bells and whistles of expensive editing software.
The #1 tip for product photos? Keep it simple, and keep the focus on the product.
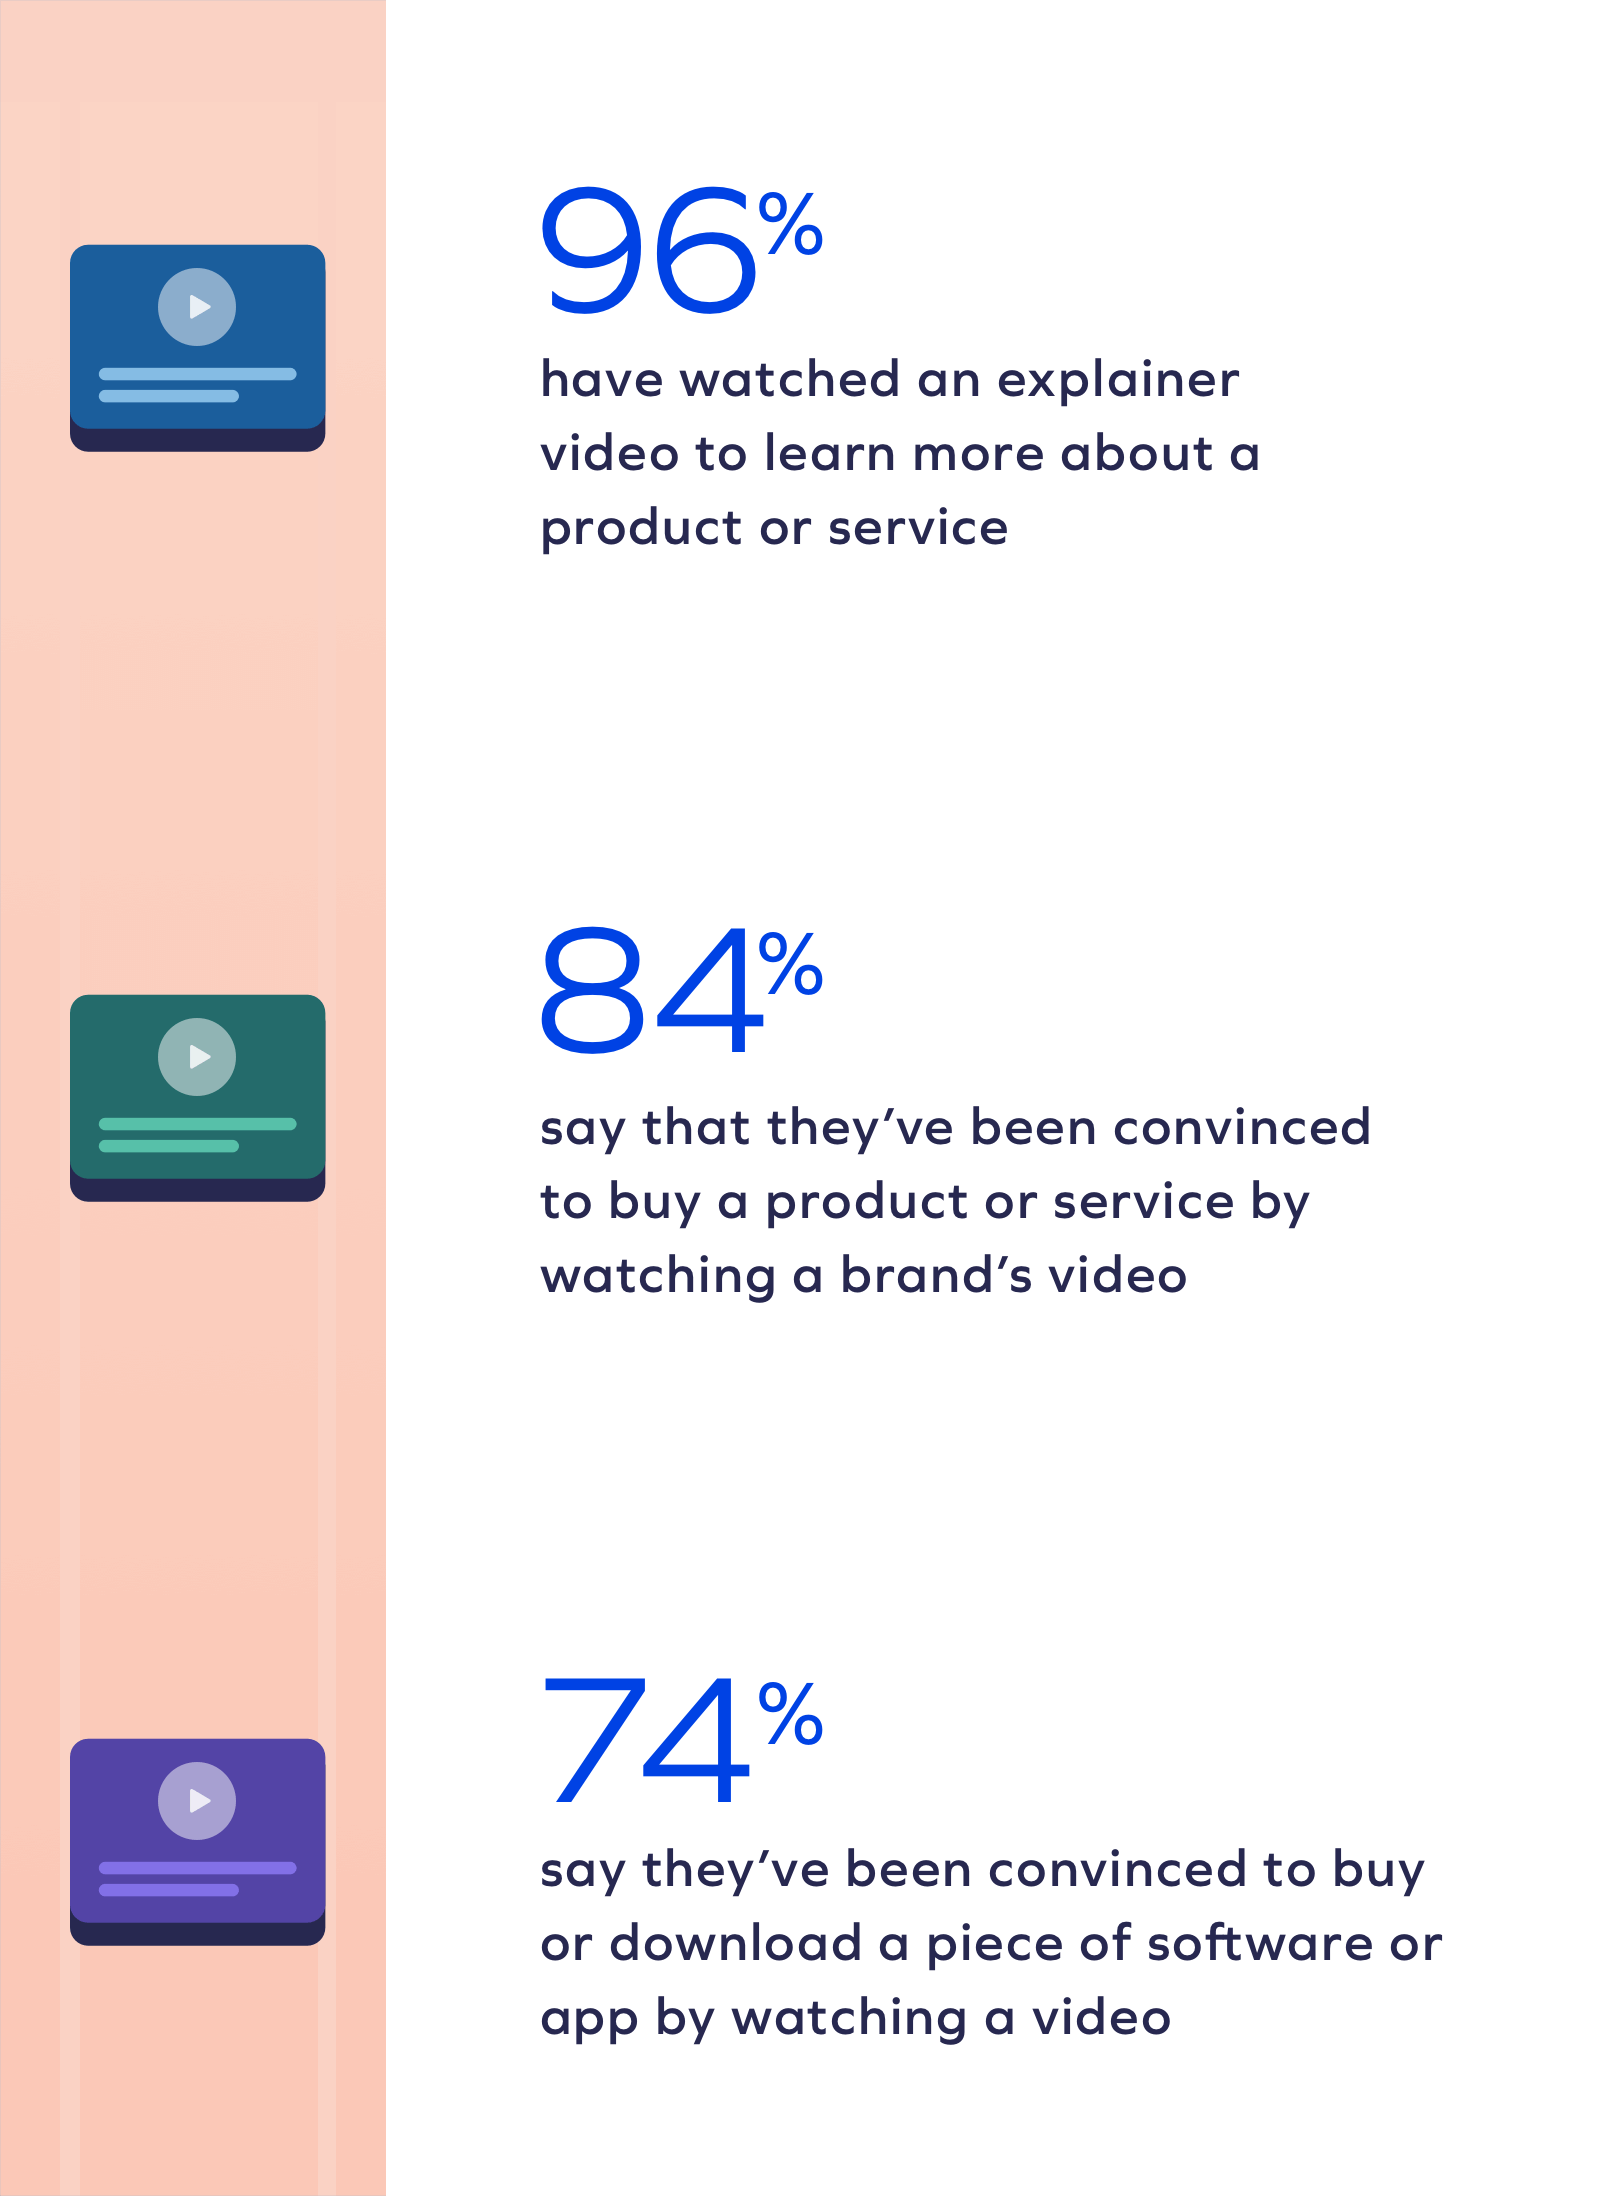
The numbers don’t lie: video remains one of the most engaging forms of product marketing. Consider these stats from Wyzowl:
There’s a good reason why YouTube is second only to Google in terms of web traffic. Consumers want video content.
There are three main types of videos you should consider for your product marketing:
Whether you shoot video in your office on a smartphone or in a studio with live models, there are some tips to keep in mind:
Consumers have short attention spans, so you need to get to the point. A good rule of thumb is to keep product videos under two minutes long.
Your video needs a hook that will draw the viewer in within the first few seconds. This can be a joke, animation, or a text overlay.
Even a product demo should have a beginning, middle, and end. Write a script, and make sure it tells a self-contained, compelling story.
Thumbnails are so important, and so many people forget to create them. Use a still photo, not a screen capture, for better quality, and include a title that clearly explains what the video is about.
Did you know that 85% of Facebook video is watched with the sound off? When consumers are at work, or in line at the grocery store, their sound is off. If you want your videos to make an impact no matter where your customers are, captions are a must.
Whether you choose to DIY your product imagery or hire an experienced agency like By Association Only, your photos and videos are the face of your products. Quality matters, so put as much effort into showcasing your products as you did into creating them.
“Yotpo is a fundamental part of our recommended tech stack.”
 Laura Doonin, Commercial Director


 Join a free demo, personalized to fit your needs