


Your products are the stars for your brand, and you want them to stand out and catch a buyer’s attention as quickly as possible. Starting a new product catalogue might seem a little daunting at first for people who aren’t tech-savvy, but don’t worry.
We’ve compiled an easy, step-by-step guide to walk you through the process of how to add products to Shopify. Just follow these steps and you’ll be good to go!
How to Add Products to Shopify
1. Click the Products tab on the left side menu of your Shopify admin.

2. Click Add product in the top right corner.

3. Enter your product Title and Description.

4. Scroll down to Media and click Add file, or drag-and-drop a file into the box. Note: the first image you upload will also be the product’s main image.

5. Add more images if you need to.
6. Modify the Organization information on the right with product type, vendor (if applicable), collection, and tags to make sure shoppers can find the product easily.

7. Enter product Pricing.

8. Fill in Inventory quantity with SKU and barcode.

9. Click Save.

And there you go! You’ve listed your first product. Now, it’s time to think of how you can enhance your product pages and drive your sales.
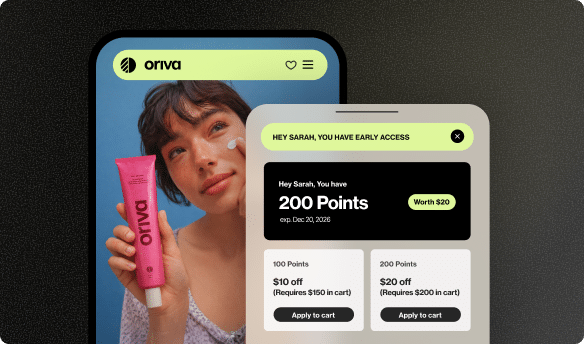
Adding reviews to your product pages is an excellent way to build brand trust and provide social proof. Shoppers find that customer reviews and photos are more trustworthy than information coming from your own company, which results in better eCommerce conversion rates.
can improve sales
How to Add a Digital Product to Shopify
Not selling “traditional products”? No problem! With Shopify’s Digital Download app, you can upload digital files such as graphic art, songs, and videos like any other product in your store. After purchase, your customers will receive an email to download the file.
Follow these simple steps to start listing your digital products:
- Download the free Shopify Digital Download app.
- In the Shopify admin click Products.
- Click Add product in the top right corner.
- Add product Title, Description, Price, and Image.
- Uncheck the This is a physical product box under Shipping.
- At this point, you still have not uploaded the digital file. In order to make sure no one accidentally purchases your product, you will need to make it temporarily unavailable. (Don’t worry! It’s only until the digital file is uploaded.)
- Click Manage in the Product availability box at the top right side of the page.
- Uncheck all the Sales channels option in the pop-up box and click Done.
- Click Save.
- Go to More actions under the Product title.
- Click Add digital file. (This will lead you to the Digital Download app.)
- Click Upload file and attach the file you want to add.
- Click View in your Shopify admin.
- Now that you’ve added the digital file to your product, let’s make it available again: Click Manage in the Product availability box and check all the relevant Sales channels.
Congratulations! You’re now selling a digital product on your store as well.
Listing your products properly is a very important step towards making your online store a success. When you’re listing your products, make sure you’re looking at it from the customer’s point of view and providing them with all the information they need to make a confident purchase decision.
With Yotpo you can make the most out of your product pages with reviews, visual marketing, and much more. Get started with Yotpo and start collecting high-quality user-generated content to supercharge your sales.


 Join a free demo, personalized to fit your needs